
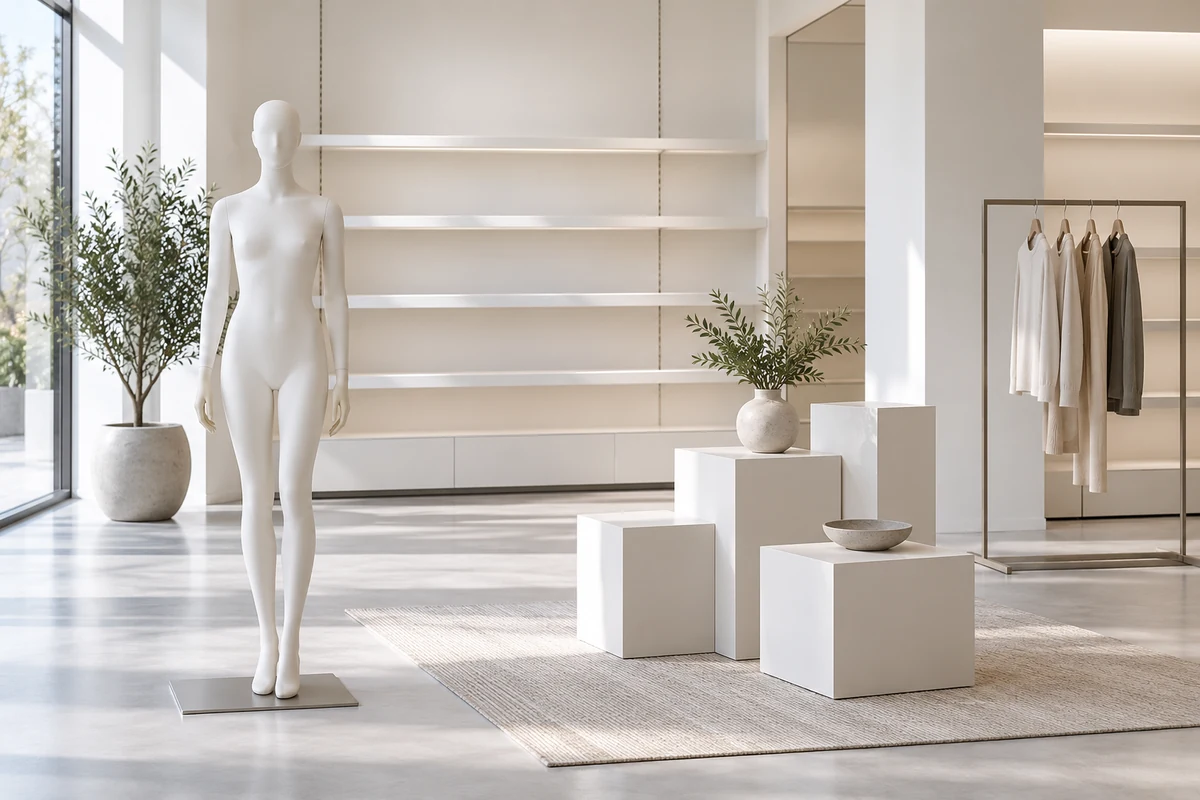
Start with the garments
Choose a representative outfit, including the narrowest opening and the longest hem, before choosing a pose. A jacket may need removable arms, while close-fitting trousers need enough clearance at the leg and support. Photograph the outfit from the intended customer viewpoint and record the measurements that matter to your team. A body that makes one sample look strong may distort another size or silhouette.
For example, a retailer presenting tailored jackets and fitted trousers should try both garments on the proposed pose. Check the shoulders under the jacket, the waistband position and whether the trouser leg passes the support without pulling. Then remove the outfit as a member of staff would during a normal reset.
Compare pose and presentation
A standing form gives a familiar full-length presentation. A seated figure requires a seat or an explicitly supported seated pose and occupies a different footprint. Abstract heads can reduce facial detail; a headless form keeps attention on clothing. Ask for a view of the back and side as well as the front, because the silhouette and garment access change with pose.
Check support and dressing
Identify how the form is supported and how each part connects. A calf or foot fixing can interact differently with shoes and trousers. Check whether the intended base fits the floor, whether the support is included, and whether a dressed form remains stable in its intended location. Never assume components from different configurations are interchangeable.
A useful acceptance check is a complete outfit test with shoes and accessories in place. Note where garment clips or temporary adjustments were required and ask whether the same result is realistic for the team to maintain.
Make a useful enquiry
Send the garment category, approximate sample size, preferred pose, finish, location and required quantity. Ask for actual body and base dimensions, assembly instructions, packaging details and any available images of the proposed configuration. Request clarification when an image is illustrative rather than a picture of the exact item offered.
When reviewing a potential pose, look at the garment as it is intended to be sold. Check whether a collar closes naturally, whether the waist sits where the designer expects and whether the hem hangs evenly. If clips are necessary, decide where they can be hidden and how staff will reproduce their placement. Note any difference between the look from the front and from the aisle. The goal is a repeatable display that represents the outfit clearly during everyday use.
Project checklist
- Measure the narrowest garment opening and check how the removable arms or legs pass through it during dressing.
- Record chest, waist, hip and overall height requirements against the representative size used in the display.
- Confirm support location and check whether it interferes with the shoes, trousers or the garment hem.
- Measure the base footprint as well as the reach of a bag, sleeve or extended arm.
- Ask for front, side and rear views of the proposed configuration and clarify which images are illustrative.
- Confirm the included fittings, assembly sequence and any replacement parts before comparing quotations.
Further reading
See Shopify, Retailer’s Mannequin Guide and Shopify, Visual Merchandising. The sources provide context; confirm details for the configuration you use.