
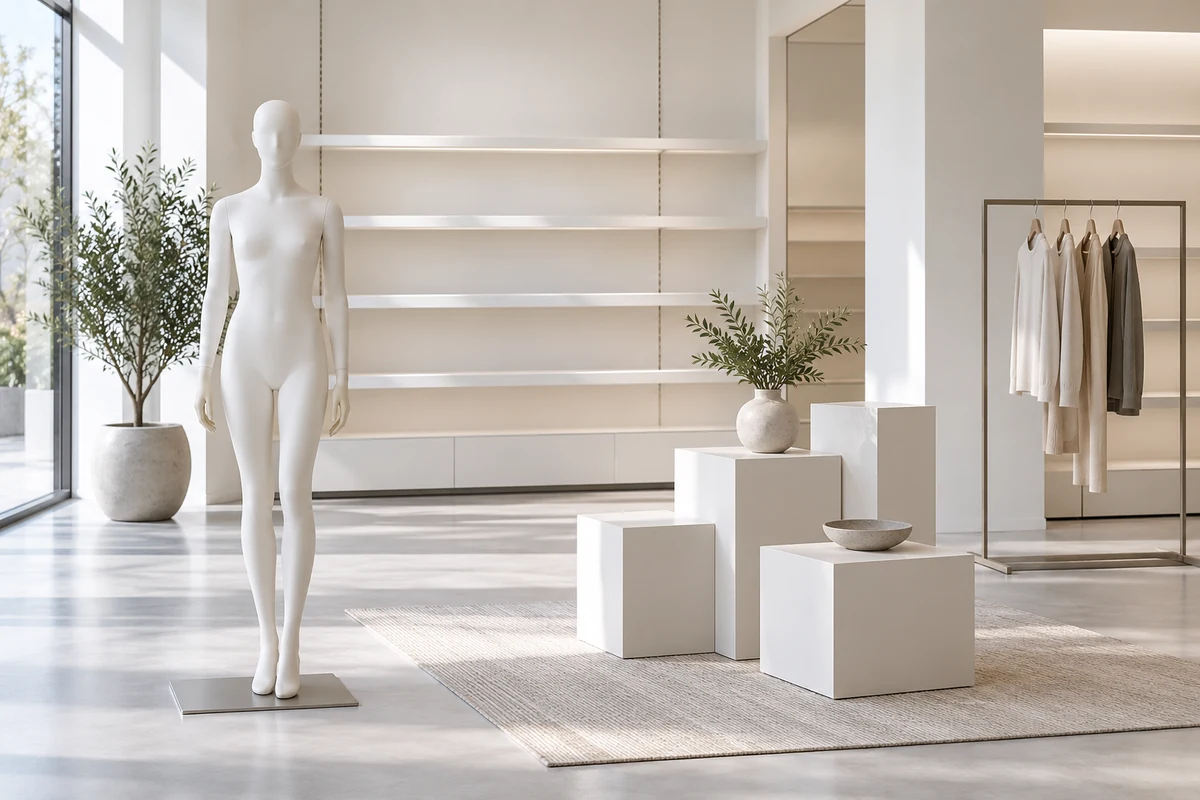
Choose one visual idea
Start with a product group, season or outfit story that staff can explain in a sentence. Select a small number of garments and props that support that idea. A window can be viewed quickly and from an angle, so decide what should be understood first before adding decorative details.
For example, a display built around one coat can use a single figure as the focal point and show supporting accessories nearby. If the coat is partly hidden by another figure or a sign, move the secondary element before adding more decoration. Check the arrangement at the time of day when reflections are strongest.
Plan for the approach
Stand outside and observe the window from the directions shoppers actually approach. Note reflections, mullions, door positions and the point at which the display first becomes visible. Place the strongest outfit where it can be read from that approach, then check the remaining figures from the opposite side so one body does not hide another.
Arrange height and spacing
Use pose, a suitable platform or a background element to create a deliberate hierarchy. Leave enough space for sleeves, bags and signage without crowding the garment outlines. Check the display from outside after each change; an arrangement that looks balanced from inside can lose its focal point through the glass.
Photograph both the completed window and its component positions. Include a close view of garment fastenings so the next shift can repeat the presentation without guessing.
Make changeovers repeatable
Record the outfit combinations, placement and lighting positions with photographs. Before opening, check garment fastenings, base attachment, price information where applicable and access for cleaning. Keep a short changeover kit and assign a person to restore displaced items; a simple display maintained consistently can remain legible between resets.
Lighting and background deserve a trial with the garments in position. A light backdrop can help define a dark silhouette, while a similar tone may make edges less distinct. Check that signs and props do not hide important details such as a collar or accessory. Photograph the display through the window as well as from inside, then compare what a passerby can actually see. Adjustments should support the chosen product story and the daily maintenance plan.
Project checklist
- Record the first viewing angle from each direction of approach and mark any window frames that obstruct it.
- Choose a primary outfit and check whether secondary figures compete with or obscure its silhouette.
- Test the display through the glass in daylight and under the lighting used after dark.
- Allow space for garments and props to be adjusted without moving every figure in the window.
- Photograph the approved arrangement from outside and document the positions of accessories and signs.
- Assign someone to check displaced garments, labels and visible support connections after the display opens.
Further reading
See Shopify, Window Displays and Shopify, Visual Merchandising. The sources provide context; confirm details for the configuration you use.