
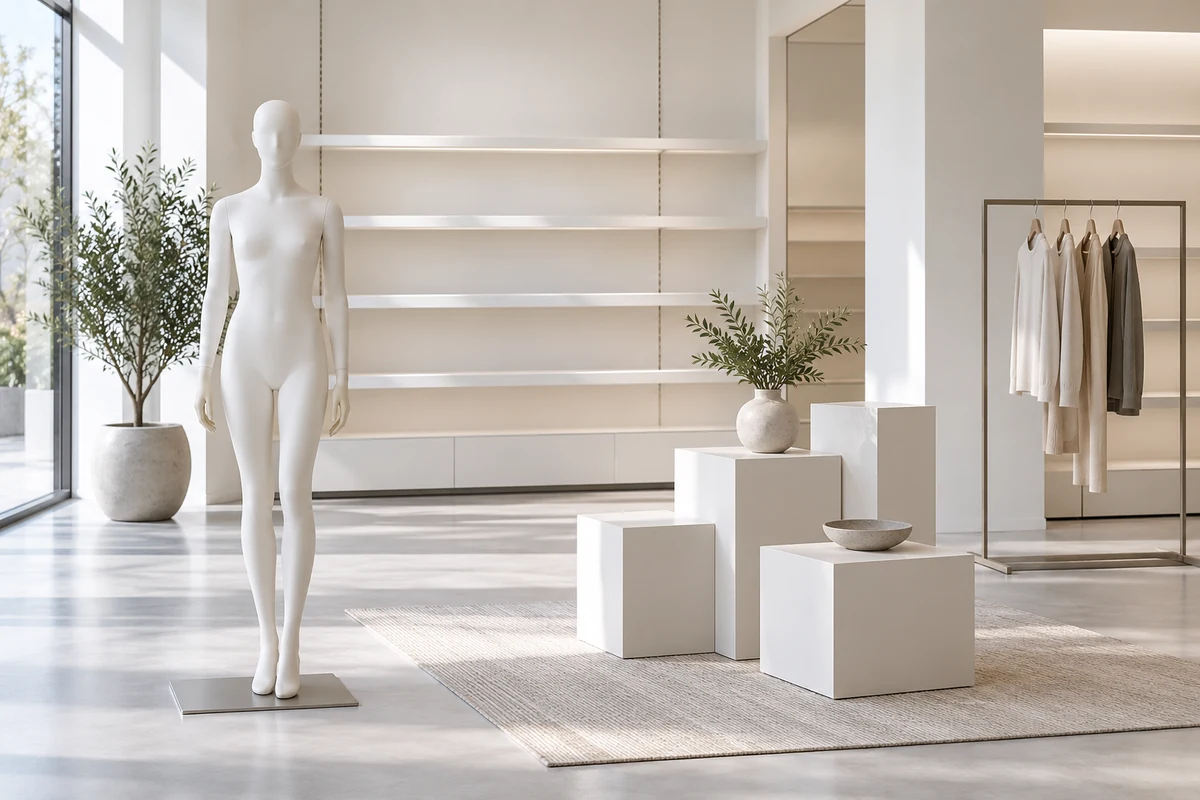
Measure the usable space
Sketch the selling floor with doors, fixed fixtures and the routes customers and staff use. Mark the full footprint of a dress form and its stand, then include the actual garment and any sign. Avoid making a decision from the torso dimensions alone: a long sleeve or skirt can occupy space well beyond the base.
For example, position a torso beside a rail of jackets and check whether the featured size and colour can be found quickly. Then open the nearby drawer or fitting-room door and walk the route again. Move the form if staff must repeatedly squeeze past it or shift the base to retrieve merchandise.
Give each form a job
Place a form where it can explain a nearby product group or show how pieces work together. A torso near the relevant rail can connect an outfit to items customers can inspect. If two forms communicate the same idea in a narrow area, test whether one form and a clearer view of the merchandise would serve the space better.
Keep merchandise accessible
Check the approach to rails, drawers and shelves with the forms in place. Staff should be able to replenish and customers should be able to reach the displayed assortment without repeatedly moving a stand. Test with the busiest practical configuration, including open doors or drawers and people carrying baskets.
Use a temporary floor mark during the trial and photograph the final position. Reassess the mark when the outfit changes, particularly if a longer hem or wide sleeve alters its footprint.
Review from several positions
Walk the floor at normal pace and check sightlines from the entrance and each aisle. Look for a garment edge catching on adjacent products and for signs hidden by the torso. Record the position and review it after a change of collection, because a longer or wider outfit can change the effective footprint.
Consider both the customer journey and the work behind it. A form placed close to a rail may make the outfit easy to understand, but it should not prevent a shopper from seeing the products behind it. Test the placement with the garments fully stocked, not only when the rail is empty. Staff can then decide whether the display should rotate with the merchandise or stay in a consistent position for easier maintenance.
Project checklist
- Measure the stand and dressed garment footprint against the available floor space, including nearby door swings.
- Place the featured outfit close enough to the matching merchandise for customers to find the pieces.
- Test access to the rail with stock in place and drawers or doors in their normal operating positions.
- Check whether a long hem, projecting sleeve or handbag changes the space needed for the form.
- Photograph the final location and record the outfit so staff can restore it after cleaning.
- Review the position whenever a different garment or nearby fixture changes the usable space.
Further reading
See Shopify, Store Layout and Shopify, Visual Merchandising. The sources provide context; confirm details for the configuration you use.